Mounting The Face Panel(S) To The Bed Frame
How to Build a Murphy Bed – Step 10
What You Need to do.
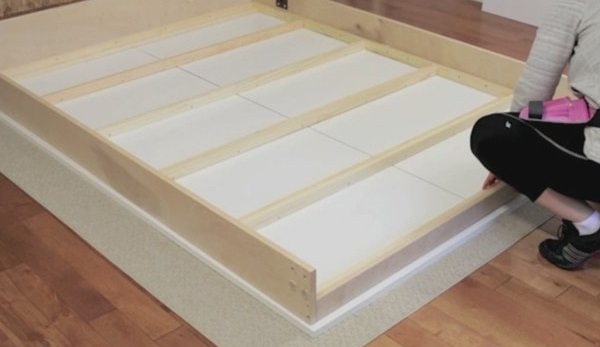
The face panels are the largest pieces that you will need to work with in this project.
This step involves attaching the face panels to the completed bed frame.
Keep in mind that you need to have the proper measurements on the edges of the face panel’s pieces so the bed frame will fit properly between the bed cabinet.
You will have to mark the face panels with a pencil and long ruler according to dimensions in the construction guide.
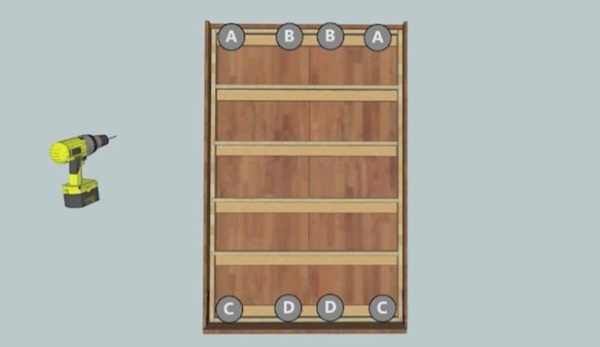
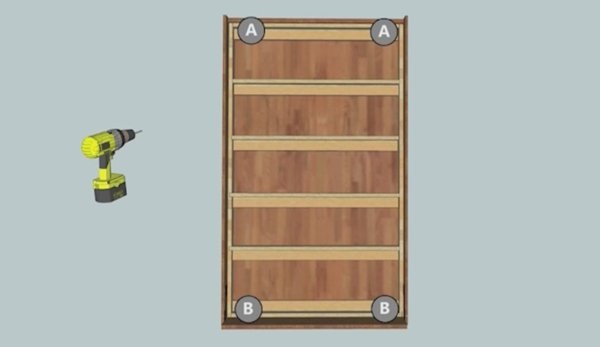
For a Twin Size bed, you will need just one face panel, but for Double and Queen Size bed you will need to have two face panels.
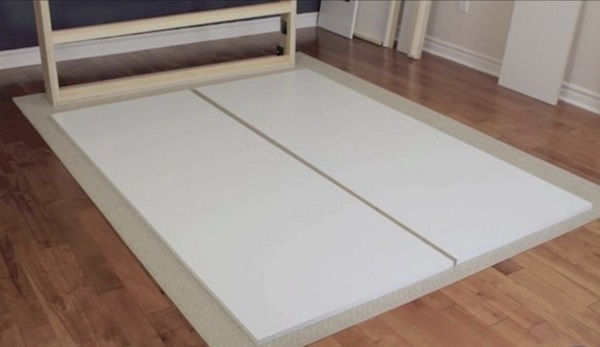
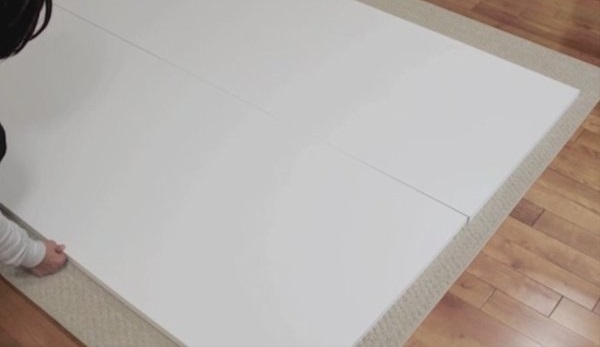
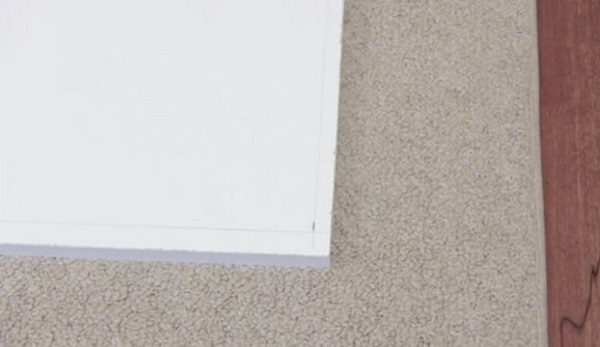
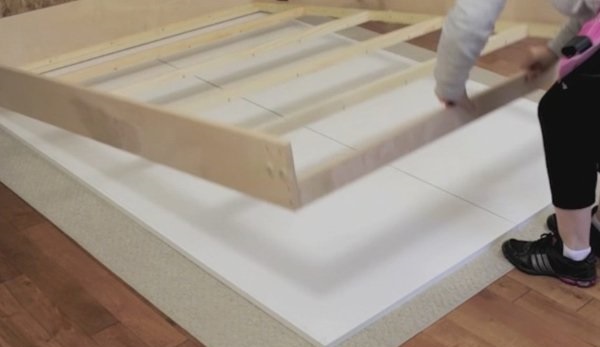
You need to put the face panels on the floor or on a large table to set up the bed frame on them.
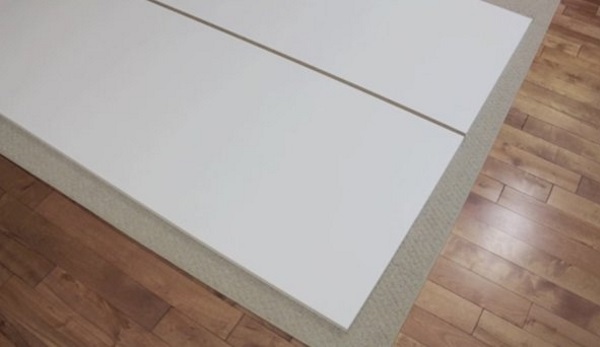
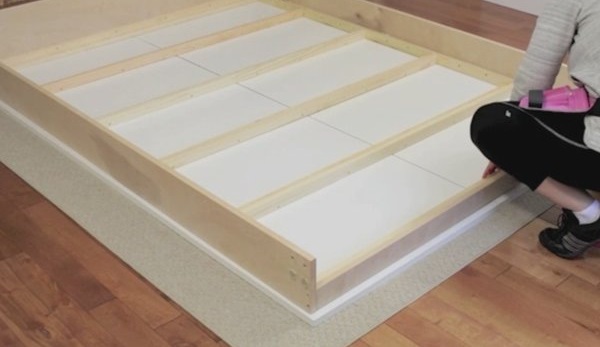
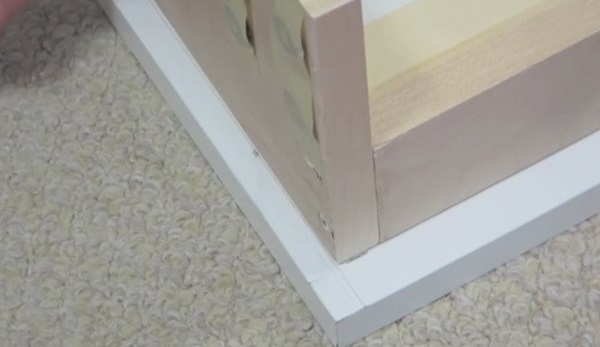
There should not be a gap between the two face panels and the overhang between the footer end of the face panels and the bed frame should be 3/4”.
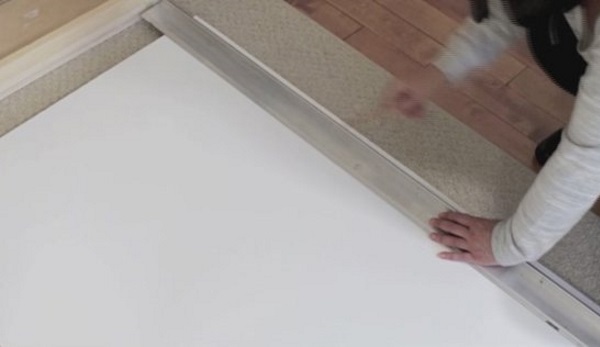
There should be a 1/2” lip on the left and right edges of the face panels and the bed frame.
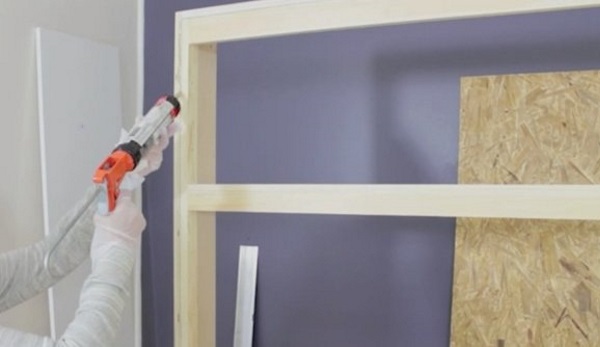
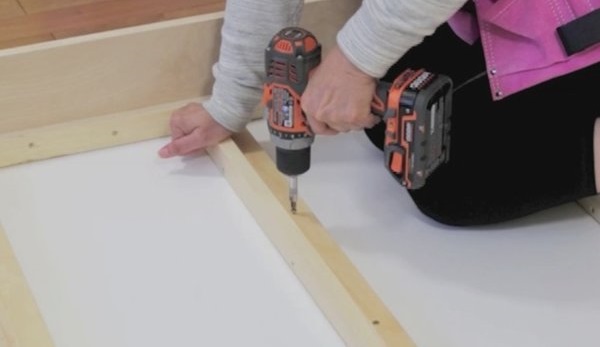
The bed frame will be attached to the face panels using construction adhesive and proper wood screws as specified in our construction guide.
Basic Steps For Attaching The Hardware To The Cabinet Sides
Below is basic overview of the steps for attaching the the face panels to the inner bed frame. Our DVD and construction guides illustrate the process much more in-depth.
Step 1
Step 2
Step 3
Step 4
Step 5
Step 6
Step 7
Step 8
Step 9
Step 10 (optional)
Step 10 (optional)
Step 11
Step 12
FREE DOWNLOAD!
Complete Construction Guide
Step-by-Step Visually Illustrated!

