Help
How to Install the Easy DIY Square Tube Murphy bed Fold-up Legs
Here you will learn the step-by-step process of how to set up and install the new square tube fold-up legs on the side rails of your DIY Murphy bed. You need to decide if you want to leave the footer end of your bedside rails parts D, square or round it as in the photos below.
Regardless of which one you choose, the installation process is the same for both set-ups.
We recommend you to refer to section 7 of your construction guide, book #2 to assist you with the steps presented here.
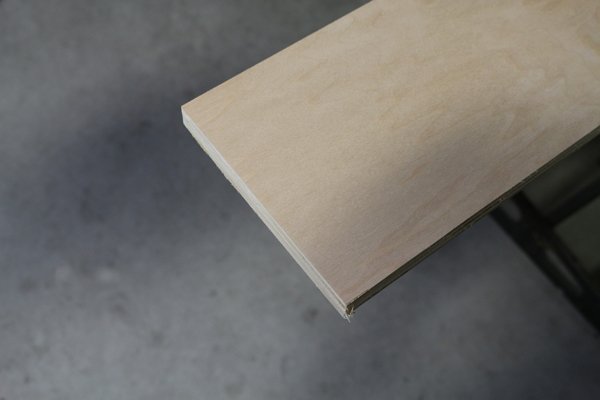
Option 1 : You can leave the footer end of your side rails parts D, square as in the photo. This requires no cutting and sanding.
You will still use the leg plate to mark and drill the 3 holes on the side rails by following the steps below.
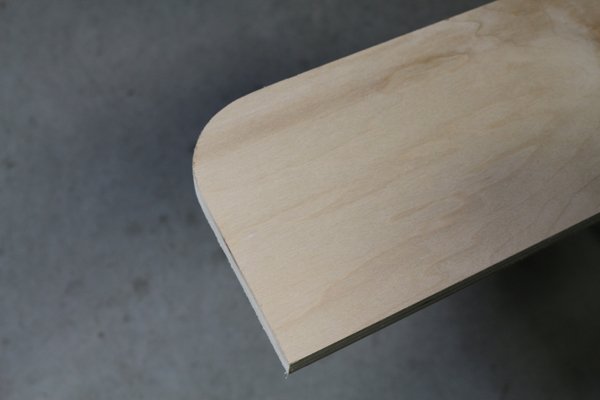
Option 2 : You can leave the footer end of your side rails parts D, square as in the photo. This requires no cutting and sanding.
You will still use the leg plate to mark and drill the 3 holes on the side rails by following the steps below.
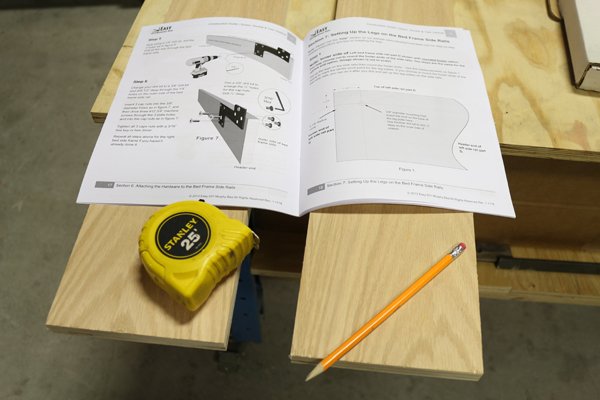
Grab the Construction Guide that came with your hardware kit and refers to section 7.
You will find a diagram with the required measurements you need to mark the centre pivot point of the fold-up legs.
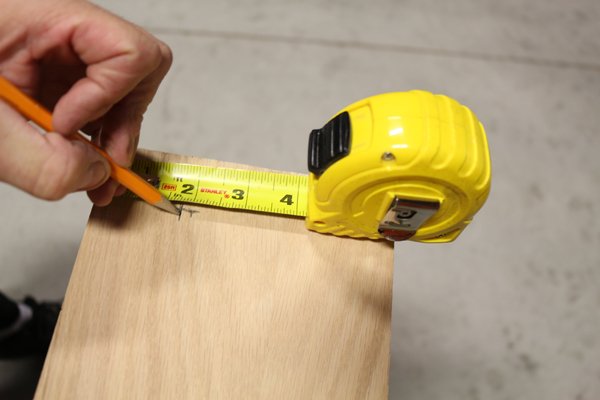
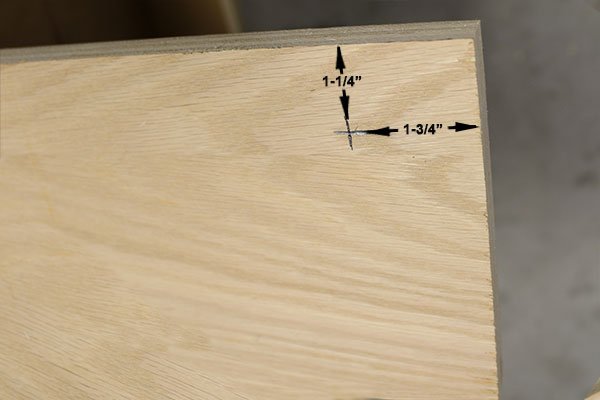
The measurements you need are shown here in the photo. Measure from the footer end of the side rails and from the top of the side rails.
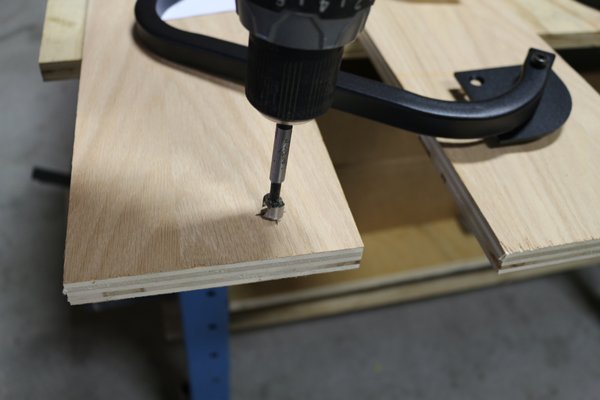
Using a 1/2″ Forstner drill bit drill, 1/4″ deep where you place the pencil mark.
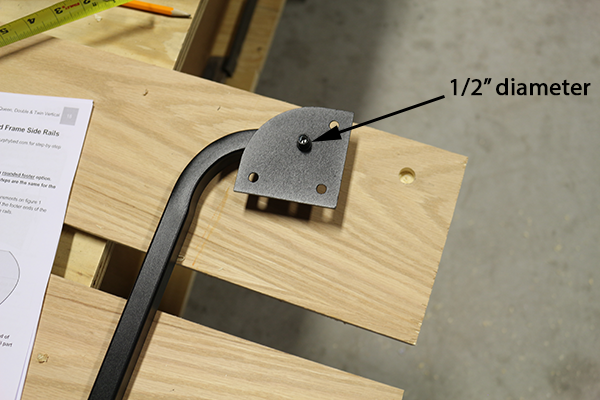
Insert the stud on the back of the leg plate into the 1/2″ diameter hole you drilled.
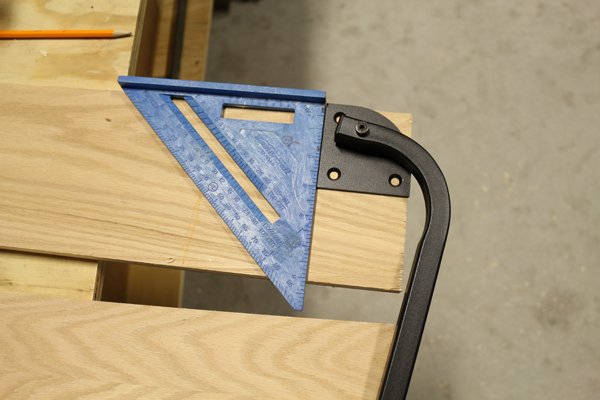
Use a carpenter’s square to set up the leg plate on the side rails. This way the plate will be properly aligned on the side rails.
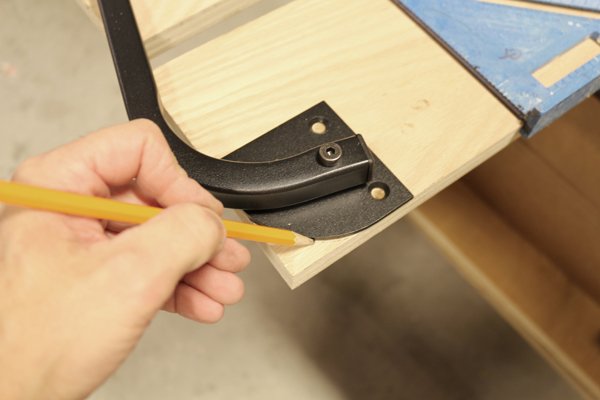
If you decided to round the footer ends of the side rails then also mark the contour of the plate as in the photo.
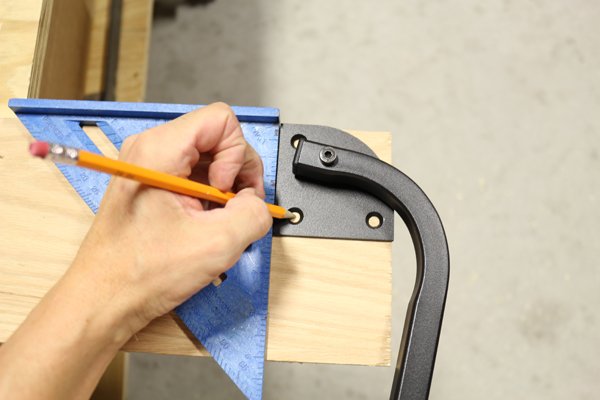
Mark the 3 holes on the leg plate with a pencil as in the photo.
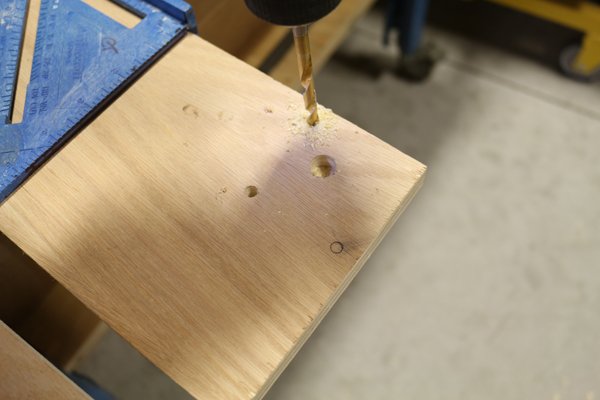
Now use a 1/4″ drill bit and drill the 3 hole markings all the way through the side rail.
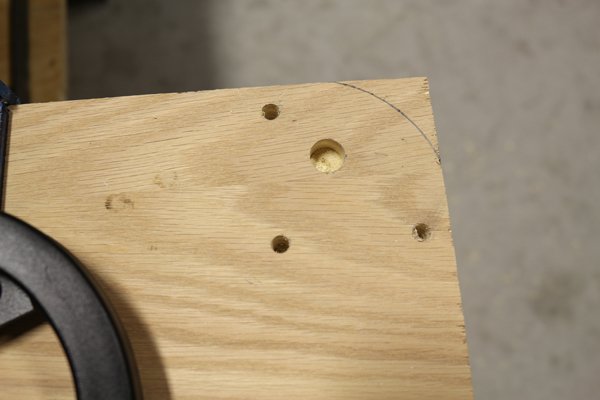
Your side rails should look like the one in the photo
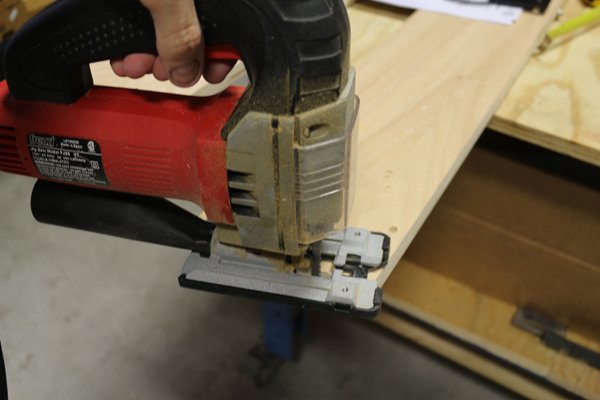
Now would be a good time to cut the contour on the side rails using a jig saw if you choose to round the ends of the footers.
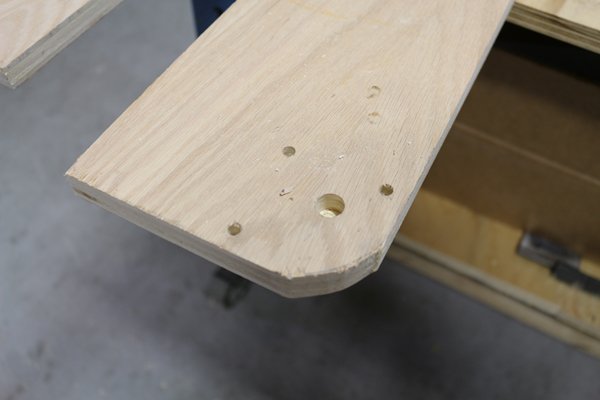
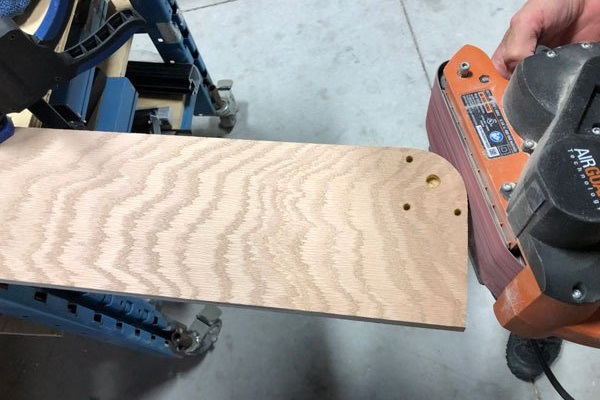
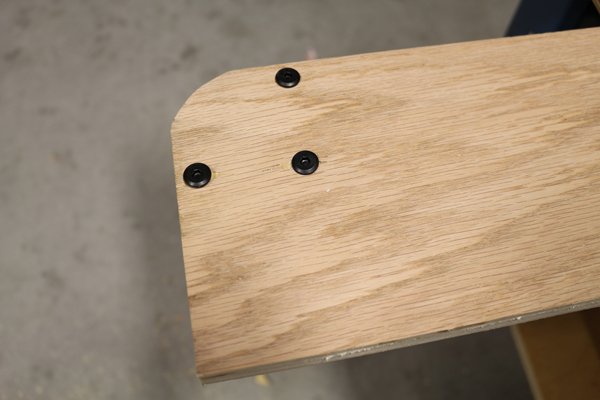
Grab 3 cap nuts included with your hardware kit and insert them into the 3 1/4″ diameter holes on the outer side of the side rail as in the photo.
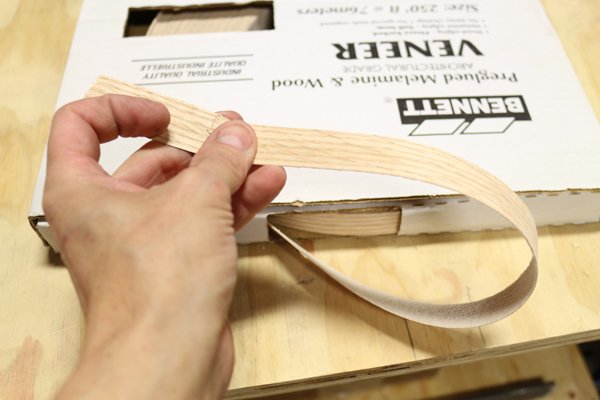
We recommend you apply edge banding to the all wooden parts of your wall bed, including the side rails to give it a finished look.
FREE DOWNLOAD!
Complete Construction Guide
Step-by-Step Visually Illustrated!
